Italian Buttercream

by Book Recipe
Italian Buttercream


Super creamy and not cloyingly sweet (like its American counterpart), this Italian Buttercream lets flavor shine over sugar, and is the best icing I’ve found for smoothly icing cakes. Don’t miss my ever-growing list of flavor variations at the end of the recipe, or the video version in the “Also See” links!

Yield: About 2 pounds, enough to ice the top and sides of a 9-inch-diameter (4-inch-tall) cake

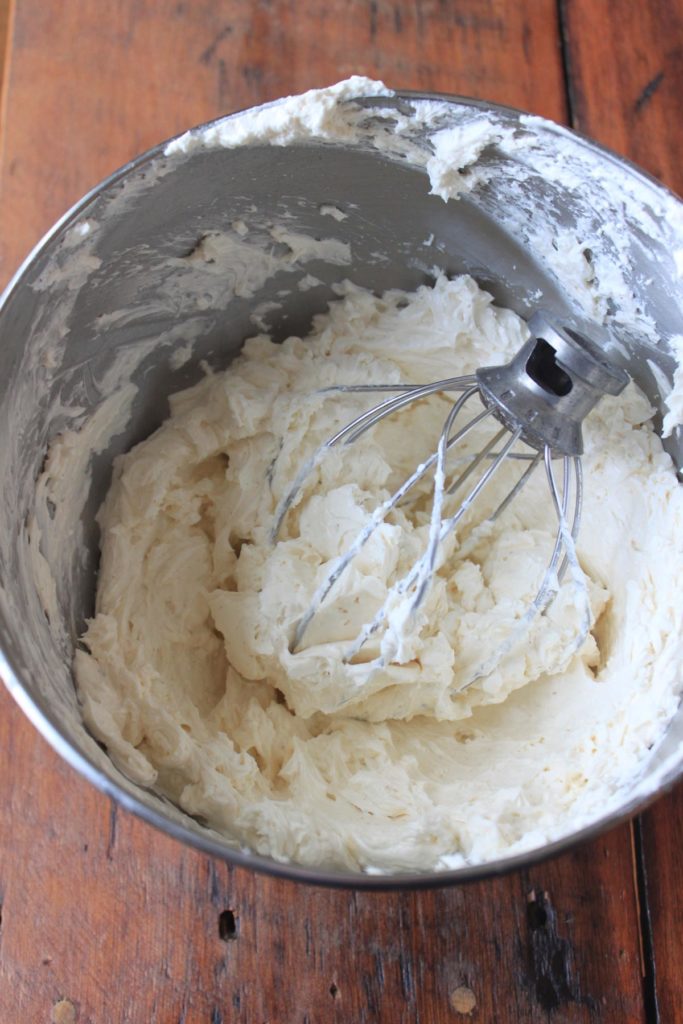
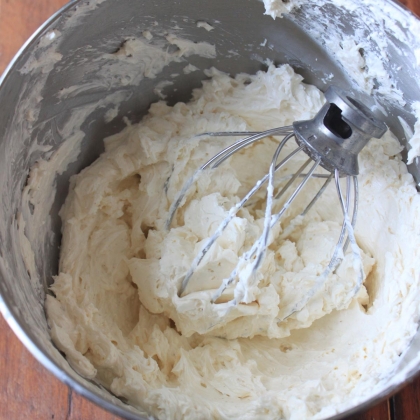
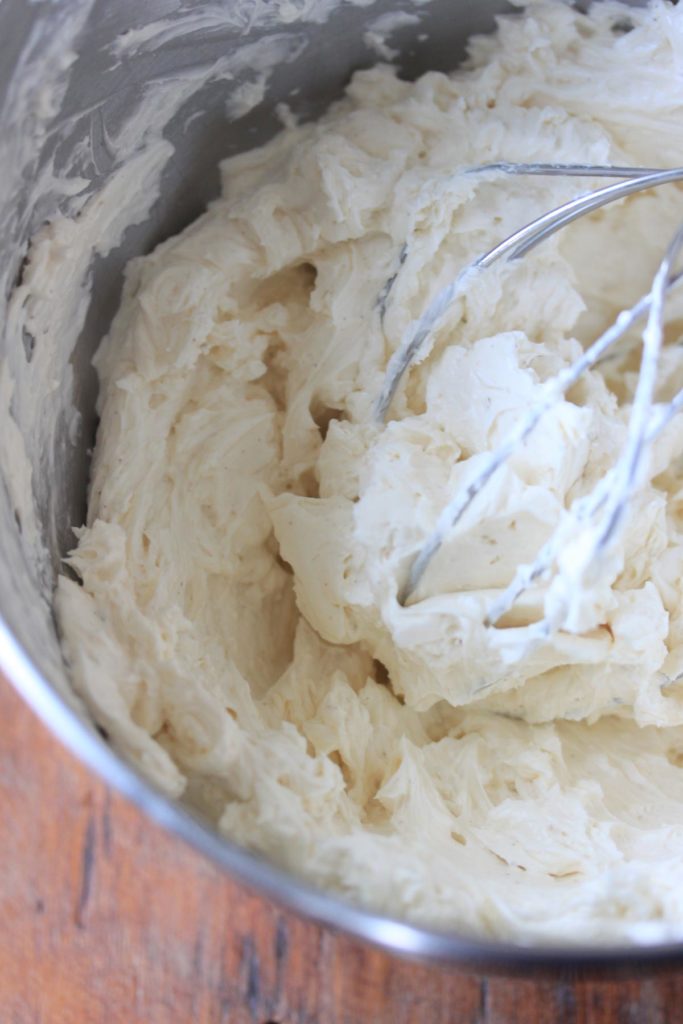
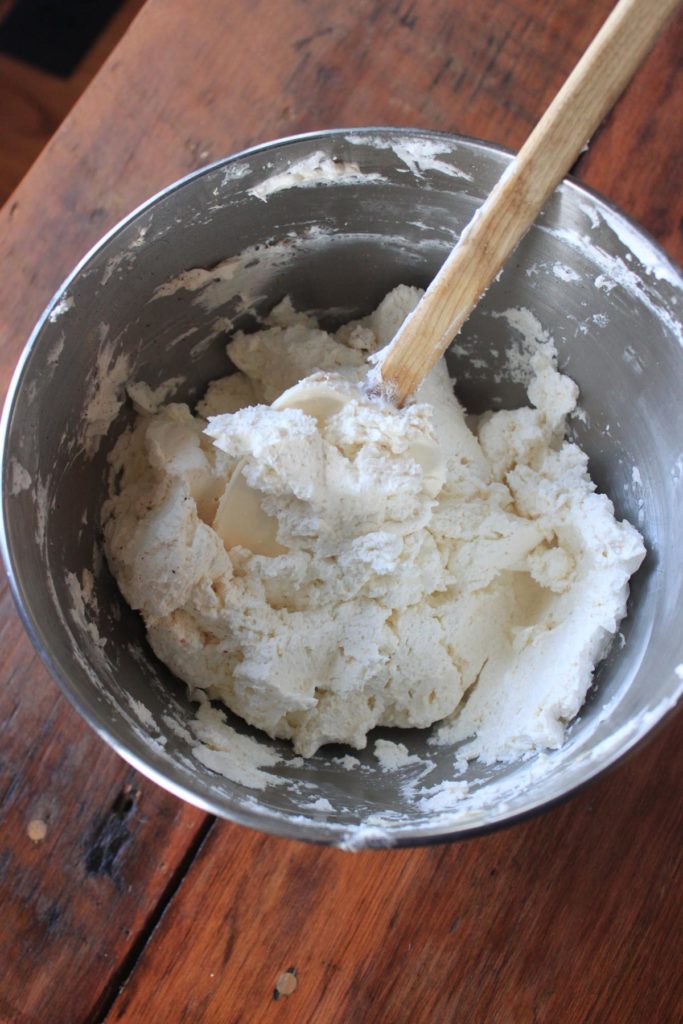
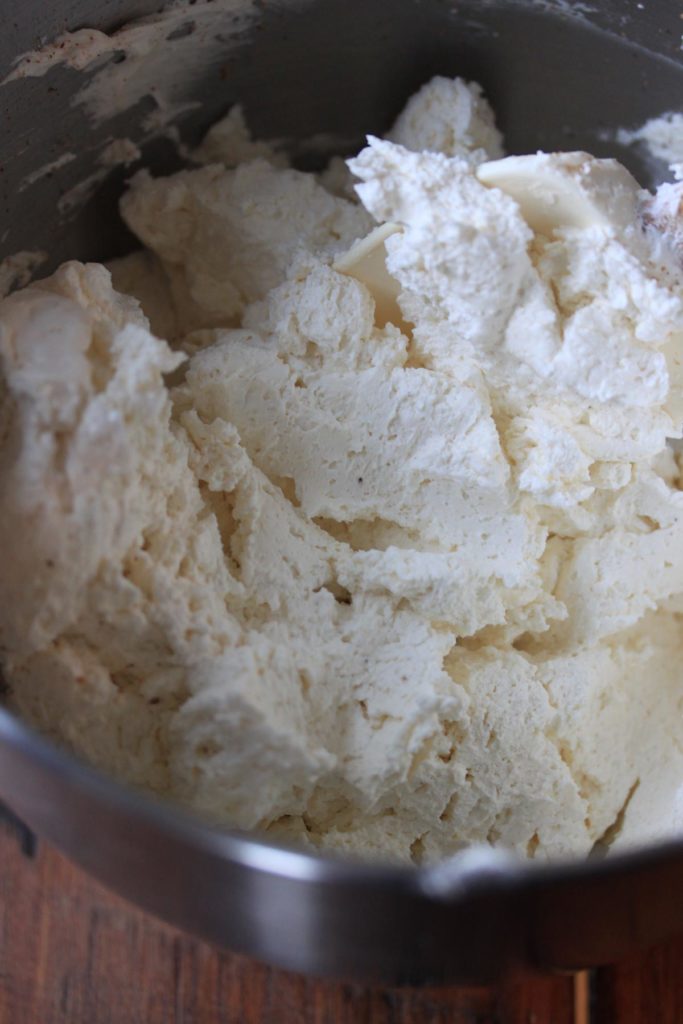
Prep Talk: The icing can be made a few days ahead (or even frozen up to a month) but it will become much harder in the refrigerator (or freezer), since it’s made with 100-percent butter and no shortening or other fat substitutes. Once it’s been chilled, you must restore it to proper icing consistency before you can easily use it. A too-cold icing looks porous and clumpy (second and third photos) and is tough to apply evenly. Typically, I turn the icing into a big bowl, or onto a parchment-paper lined cookie sheet, so it’s not too deep, and let it sit until it returns to room temperature. Then I re-beat it in my electric mixer until slick and smooth (first and fourth photos). Sometimes I accelerate this process by setting the icing bowl (metal, of course!) over very low heat and whisking the icing as it slowly melts on the bottom. (Take care not to melt the icing too much, or it will lose its fluffiness.) Since a relatively long beating time is required for this recipe, it truly helps to use a more powerful stand mixer, rather than a hand-held one.

  • Italian Buttercream6
  • Italian Buttercream5
  • Italian Buttercream4
  • Italian Buttercream1
  • Italian Buttercream3
  • gallery cakes

Italian Buttercream
Pin Print

Italian buttercream

Rating: 5.0/5
( 1 voted )
Serves: About 2 pounds Nutrition facts: 200 calories 20 grams fat

Ingredients

  • 3/4 cup (5.0 oz, 142 g) granulated sugar
  • 1/2 cup (5.3 oz, 151 g) light corn syrup
  • 5 large egg whites (5.5 oz, 154 g), room temperature
  • 1/4 teaspoon cream of tartar
  • 1 pound (16.0 oz, 454 g) unsalted butter, softened to room temperature but not squishy
  • 1 teaspoon pure vanilla extract (The bare minimum flavoring!)

Additional flavorings to taste (Be sure to generously flavor the icing; otherwise, it can come across as just buttery. For ideas, see my flavor variations at the end.)


Instructions

  1. Prep the meringue base. Combine the sugar and corn syrup in a shallow skillet. (I like to use a Teflon-coated one, because the sugar syrup will literally slide out of it later, without a lot of rubber spatula-scraping.) Set the pan over medium-high heat and bring the mixture to a boil, stirring as needed to help the sugar dissolve.
  2. While you’re waiting for the mixture to boil, place the egg whites and cream of tartar in the clean bowl of an electric mixer fitted with a whip attachment. It’s best to use room-temperature egg whites. You’ll be adding a hot sugar syrup to the whites next, and it’s easy to cook them if they’re taken and used straight from the fridge. (Cooked whites = gritty icing, which is pure blech!) Turn the mixer to high speed, and start whipping the eggs.
  3. Once the sugar syrup has reached a full boil through to the center, pull it off the heat, turn down the mixer to medium speed (to prevent the syrup from splattering), and slowly add the hot sugar syrup in a steady stream. Try to pour it between the side of the bowl and the edge of the whip attachment to minimize sugar splattering. The mixer should be running the entire time; otherwise, you run the risk of cooking the egg whites by exposing them to too much sudden heat. (The egg whites will expand into a soft, fluffy meringue as you add the syrup.)
  4. After the sugar syrup is fully incorporated, turn off the mixer, and quickly scrape down the sides of the bowl. Scrape down any soft sugar syrup that may have splattered, but avoid scraping down any already hardened sugar or you’ll end up with a crunchy icing (another big blech)! Return the mixer to high speed and continue to beat the meringue until it is completely cool, about 5 to 10 minutes depending on your room temperature. When the meringue is cool, you’ll generally hear it from the mixer - meaning it will change cadence as the meringue starts clinging more tightly to the whip.
  5. Add the butter and flavorings to complete the icing. With the mixer still on high speed (the highest is ideal), drop the softened butter into the meringue in 1 or 2 tablespoon blobs, whipping each addition fully before adding the next. The meringue will deflate after the first addition and may also appear a bit grainy, but as you add more and more butter, the icing will become very slick and smooth. Stop beating when the icing has reached this point. Even though this icing is much more stable than other varieties, it can break if overwhipped or overheated.
  6. Stir in the vanilla extract (and any additional flavorings) just to incorporate them; then quickly zap the icing with a high-speed turn or two of the mixer to fully distribute the flavorings. Use immediately or store covered (or in an airtight container) in the fridge until you’re ready to ice

Some Flavor Variations. I’m always adding ideas here, so stay tuned!

Eggnog: At the end, add another 1 teaspoon vanilla extract (to total 2 teaspoons), along with 2 to 3 tablespoons bourbon (to taste), and 1 1/2 teaspoons freshly grated nutmeg. (I steer clear of already ground nutmeg; I find it is often bitter.)

Chocolate-Rum: Along with the 1 teaspoon vanilla extract called for above, add 2 tablespoons melted (but cooled) premium semisweet chocolate, and 2 tablespoons rum. The result is a light brown icing, not one that is super fudgy - but it’s yummy nevertheless!
Related Posts

Leave a Reply

[script_19]
Delightful Mother’s Day Bites: Crostini with Balsamic Strawberries and Ricotta TRIPLE GINGERBREAD BUNDT CAKE Taro Cake Recipes STUFFED ZUCCHINI BLOSSOMS How to Make DATE SPICE CHOCOLATE CAKE